Integrating Clerk and PlanetScale in your Next.js applications

Photo by Deva Darshan on Unsplash
I’m a big believer in using SaaS products to make your life easier, especially when working on side projects where momentum is a crucial factor in determining whether something gets produced or just becomes another empty domain. Two products that I’m a huge fan of are Clerk, which simplifies authentication for your application, and PlanetScale, which handles all database-related tasks.
One of the reasons I like these products is the excellent developer experience they provide in isolation. However, it’s not always clear how they can work together in your application. This blog post explores how to integrate Clerk and PlanetScale effectively within your Next.js applications, but the same concepts can be applied to other frameworks.
To start, I’ve initialized a new Next.js application using the /app directory and deployed it to Vercel. You can see the deployed application here.
Adding Clerk
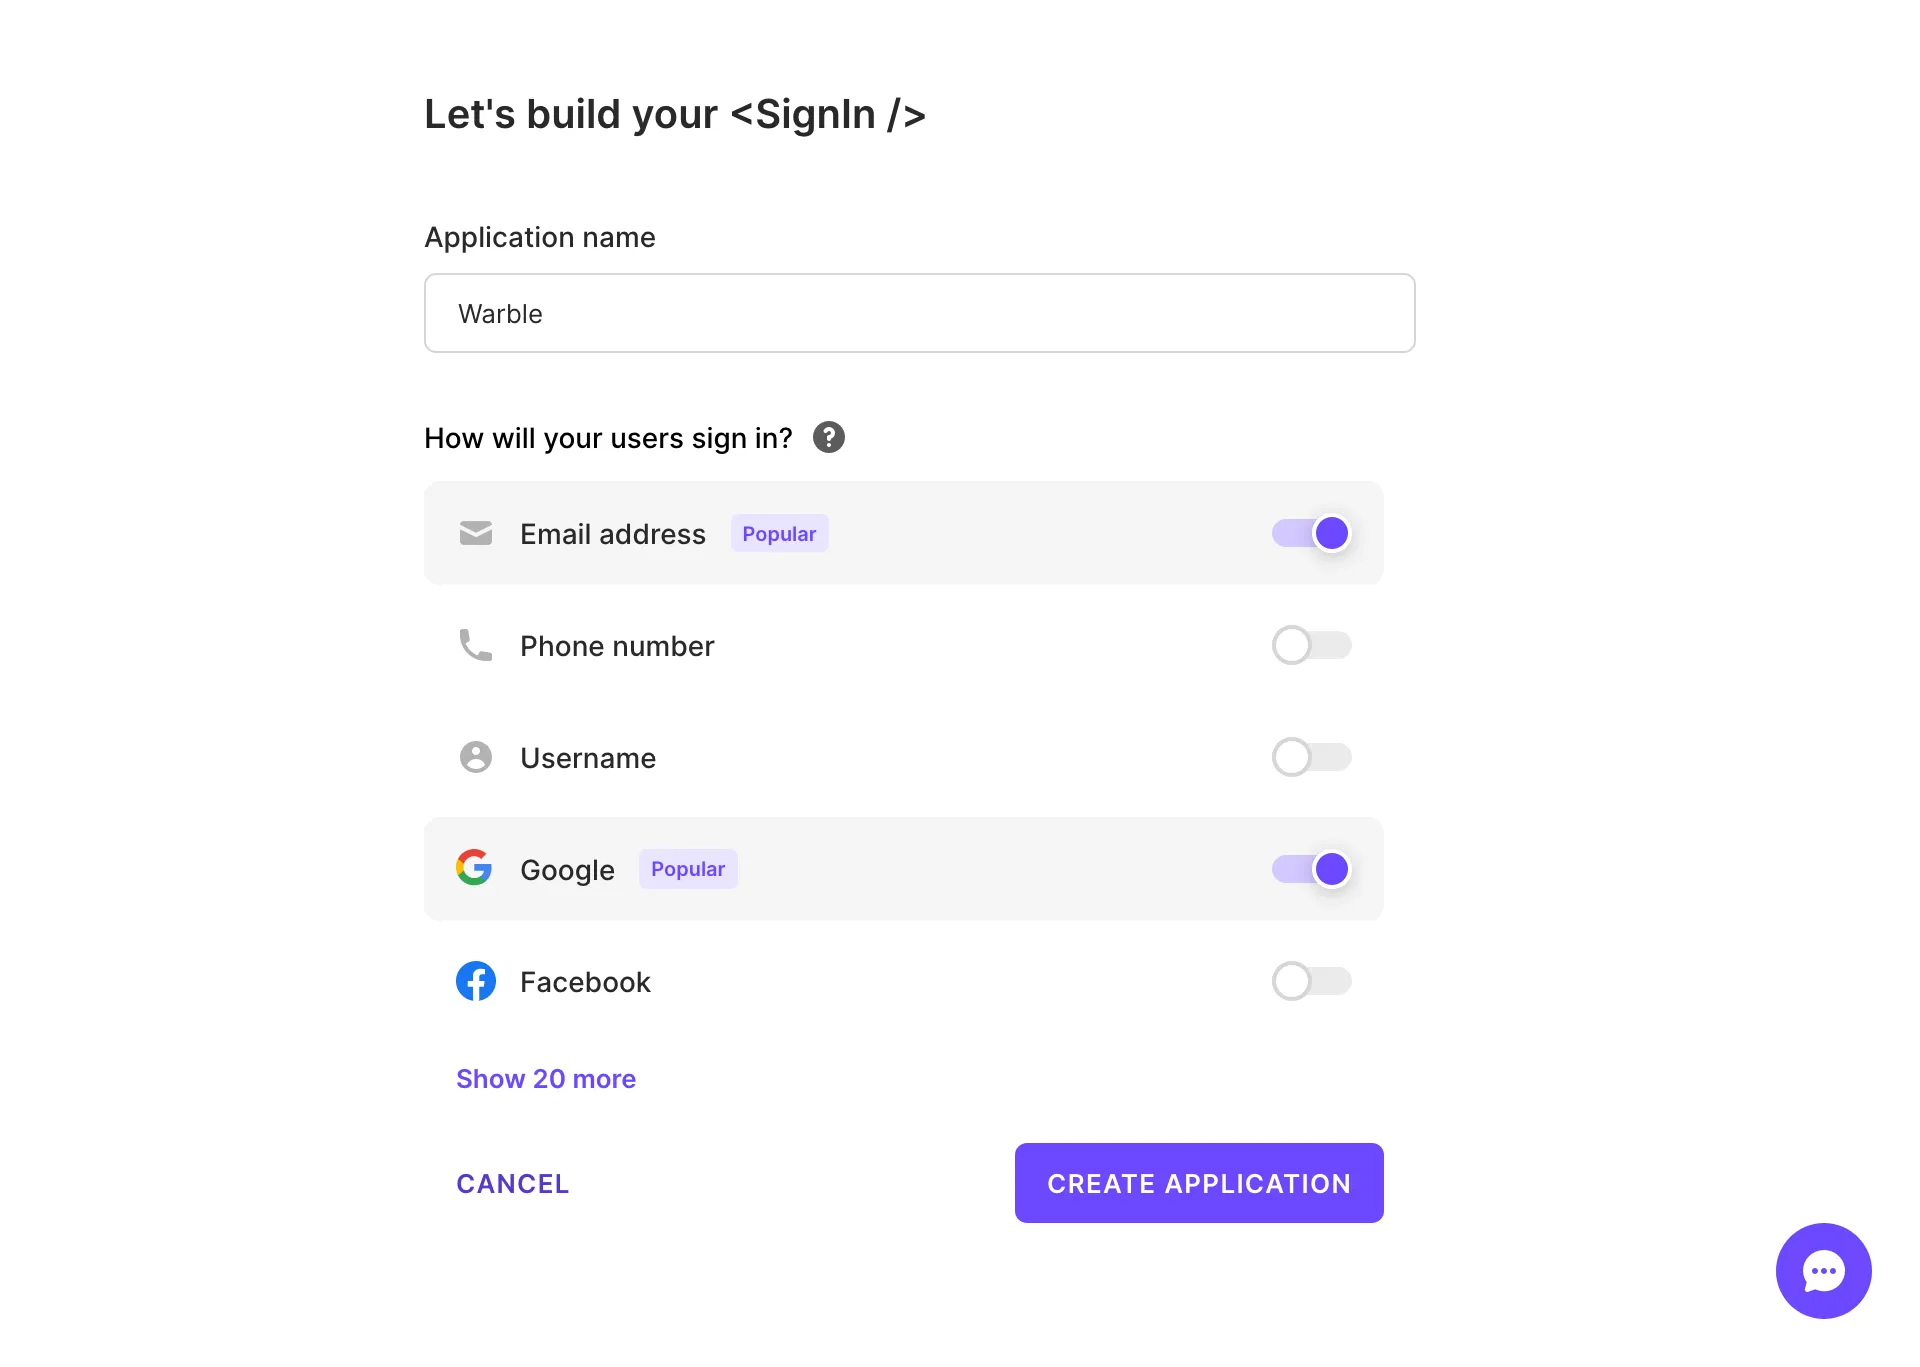
Go to https://clerk.com/ and create a new account. Once you’ve done that, you’ll be taken to a dashboard where you can add an application. When you click on “Add application”, you’ll see a screen where you can give your application a name, choose how users will sign in, and specify the sign-in screen’s appearance.
Clerk will provide you with some tips to get started with building your application. First, you’ll need to copy the API keys into your .env.local file. If the file doesn’t exist, create it in the root of your project. Additionally, add the API keys to your Vercel environment variables in your project settings.
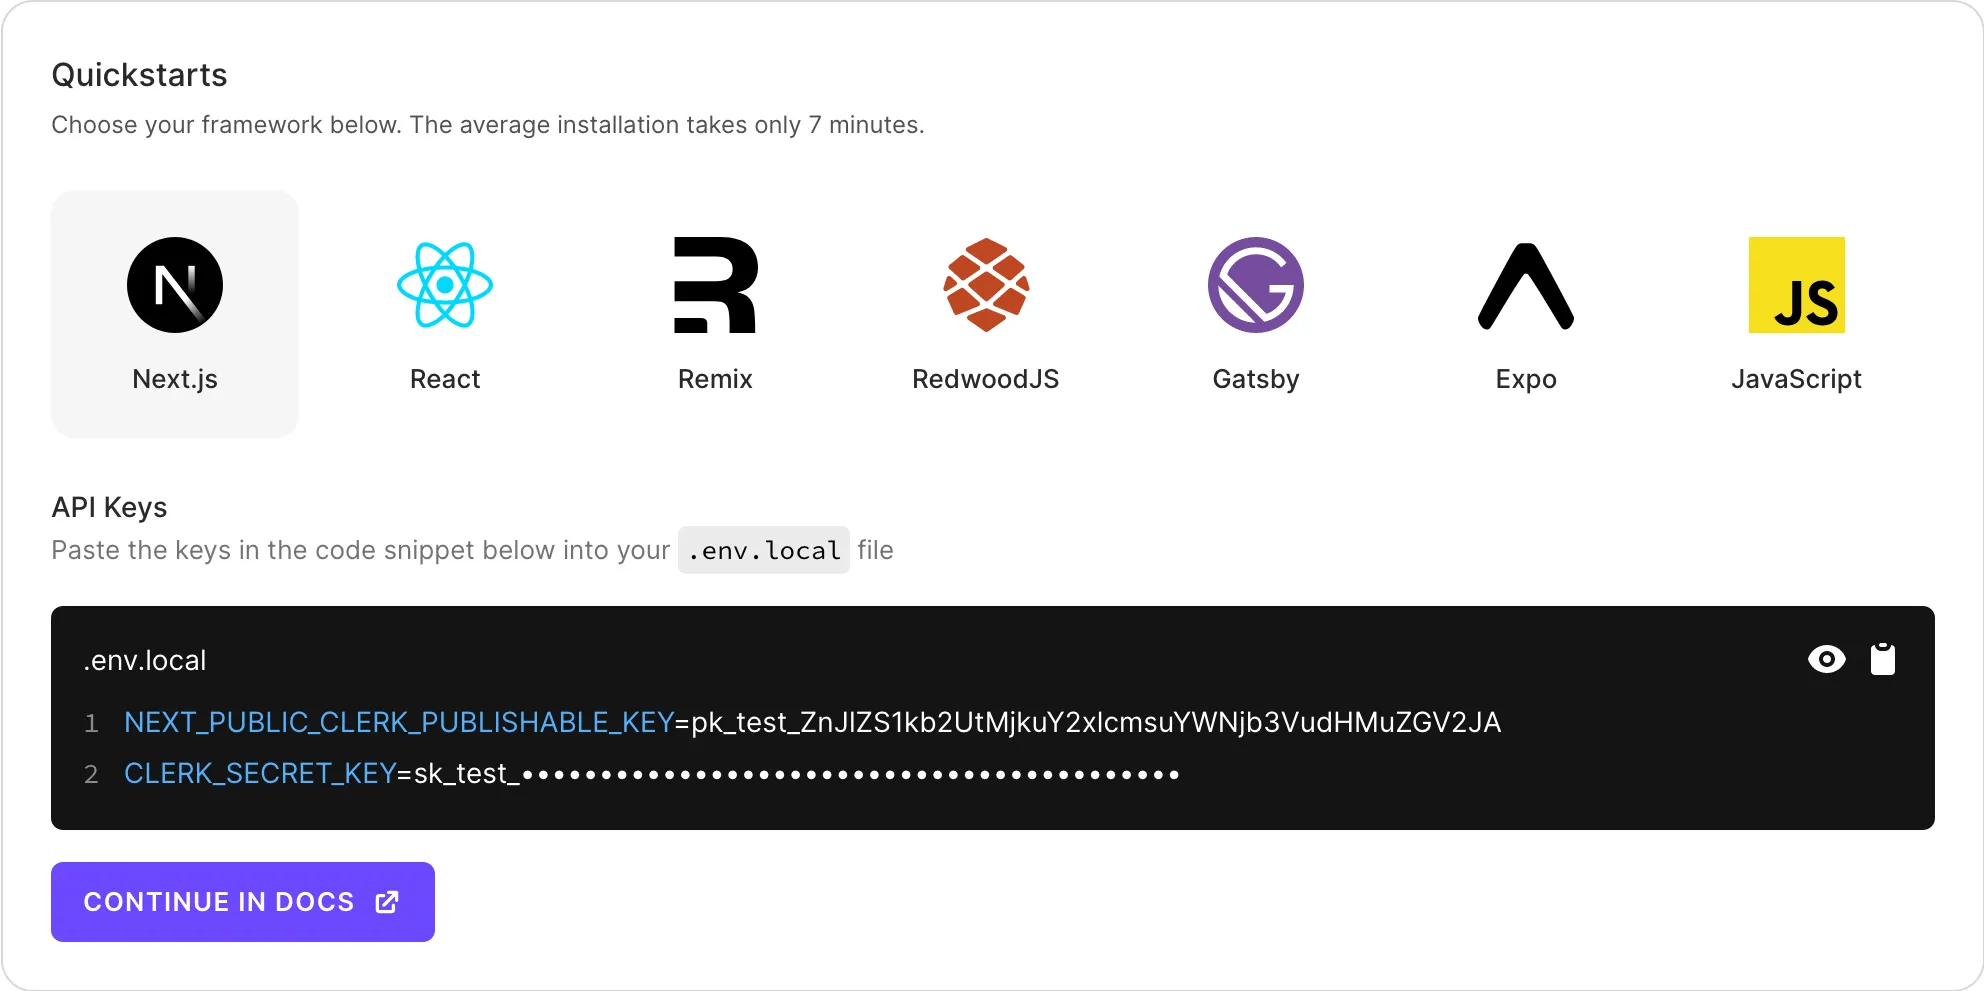
Clerk provides application quickstarts for different frameworks, explaining how to get started better than I can. I recommend checking those out and returning here when you’re ready to add PlanetScale. You can find the Next.js quickstart here.
Adding PlanetScale
Next, let’s add our database with PlanetScale. Go to https://planetscale.com/ and sign up for an account. Once you’ve signed up, you can create a new database.
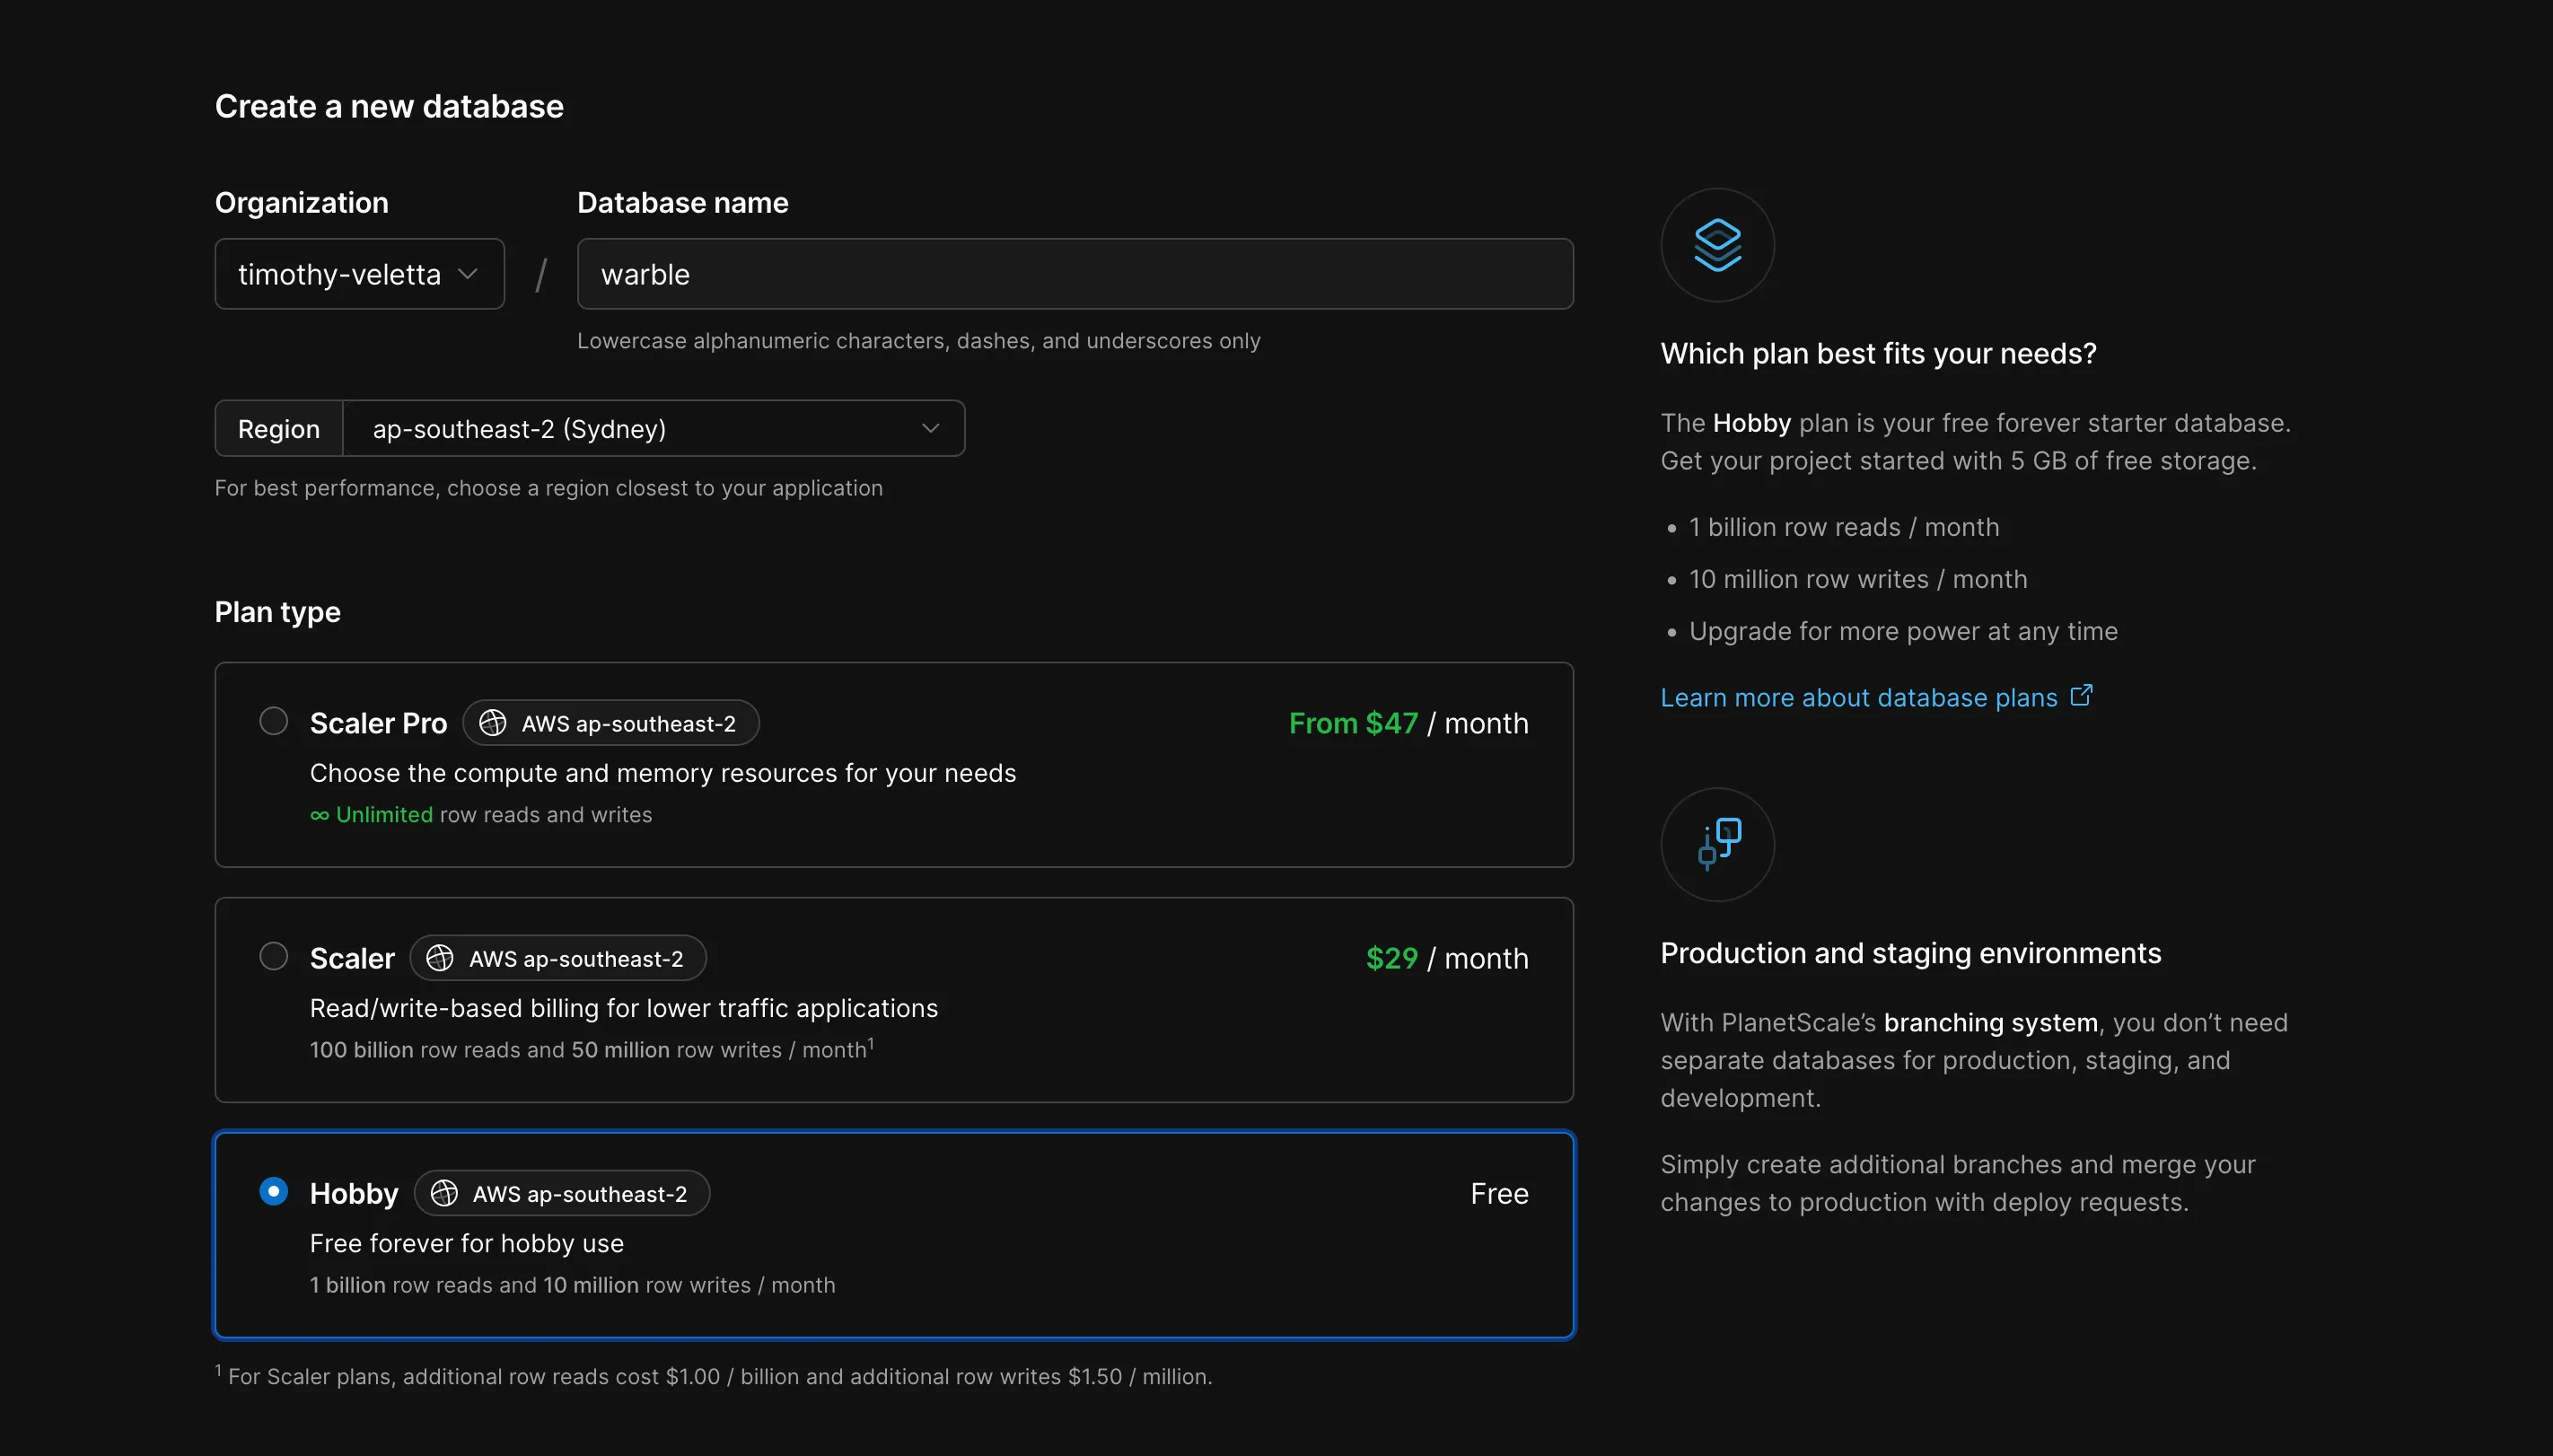
After creating the database, PlanetScale will prompt you to connect to it. For now, let’s save the generated database connection string in our Vercel environment variables under DATABASE_URL.
Next, we’ll set up Prisma to access our database within our Next.js application. Prisma is an ORM (object-relational mapping) tool that makes it easier to connect, define the schema, and query your database.
You could proceed without using an ORM like Prisma to connect to and query your database in your Next.js application. However, I find that using Prisma enhances the developer experience and speeds up my workflow when it comes to handling databases.
To get started with Prisma, run:
npx prisma initThis command will initialize a prisma/schema.prisma file and an .env file if they don’t already exist. Make sure to add the .env file to your .gitignore because we don’t want to push our database connection string to source control.
Copy the database connection string from when you created the database and paste it into the .env file as the DATABASE_URL. You’ll also need to update the schema.prisma file to indicate that you’re using mysql as the database driver and that you want to use prisma to emulate relationships between data, as PlanetScale doesn’t allow foreign keys in its schema. At this stage, the schema should look something like this:
generator client {
  provider = "prisma-client-js"
}

datasource db {
  provider = "mysql"
  url      = env("DATABASE_URL")
  relationMode = "prisma"
}
If you’re deploying to Vercel, you’ll need to set the postinstall script in your package.json file as follows:
"postinstall": "prisma generate"This ensures that your Prisma schema and database stay in sync due to how Vercel caches builds.
Putting it all together
Now that Clerk, PlanetScale, and Prisma are all set up, it’s time to make them work together. We can start by adding a basic data model to our schema.prisma file to establish a database structure for querying.
For our demo application called Warble, we’ll allow signed-in users to create posts that anyone can see on the site, whether they’re signed in or not (Warble is not to be confused with any other formerly bird-sounding apps).
The model for the Post is as follows:
model Post {
  id        Int      @id @default(autoincrement())
  userId    String
  createdAt DateTime @default(now())
  updatedAt DateTime @updatedAt
  content   String

  @@index([userId])
}
For each property, we’ve defined the expected data type and whether it has a default value (@default). I’ve also added an additional index (@@index) on the userId property to speed up operations that retrieve all posts for a specific userId.
One mistake I made initially when using PlanetScale and Clerk was trying to model user data within my database schema, something Clerk is very good at. Previously, I had set up a webhook within Clerk to create a user in the database when a user signs up. However, this operation is asynchronous and sometimes caused timing conflicts because the database would try to pull data for a user that didn’t yet exist. In the future, I would consider using something like Clerk metadata for this purpose.
Now that we’ve added our Post model, we can push it to our PlanetScale database using:
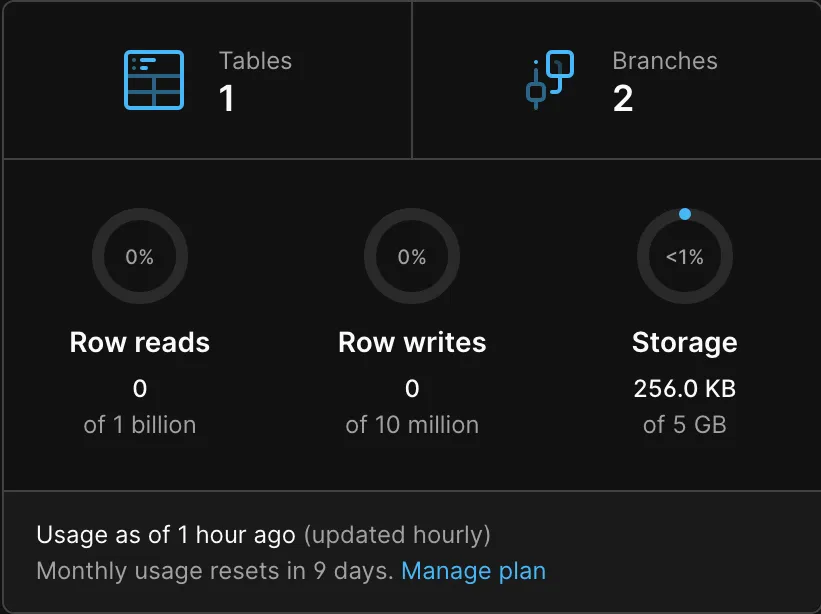
npx prisma db pushOnce the process is complete, you can view the new table in the PlanetScale console by clicking on the list of tables or by running the Prisma studio (npx prisma studio).
The next step is to perform actions on that table through our Next.js application and Prisma. First, we need to install the Prisma client:
npm install @prisma/clientNow we can use the Prisma client in combination with the @clerk/nextjs library to add a new post to the database:
import { PrismaClient } from '@prisma/client';
import { auth } from '@clerk/nextjs';

const prisma = new PrismaClient();
...
const { userId } = auth();

const post = await prisma.post.create({
	data: {
		userId: userId!,
		content: "Some content",
	},
});
You can do this in an API call through Route Handlers or Server Actions, and you should achieve the same result. Just make sure you retrieve the userId either from the token in the request or directly from Clerk, as we’re doing here.
To retrieve the data, you can use the Prisma client again and perform a findMany operation. In our case, we’re retrieving the 20 most recent posts based on the createdAt parameter specified in our schema.
const prisma = new PrismaClient();
...
const posts = await prisma.post.findMany({
	orderBy: {
		createdAt: 'desc',
	},
	take: 20,
});
Next Steps
In this post, I’ve presented a rudimentary example of how to integrate Clerk and PlanetScale into your Next.js applications. To make it “production-ready,” there are a few additional steps you’ll need to take, including:
- Deploying Clerk to production to use your own domain for authentication.
- Setting up PlanetScale safe migrations to make schema changes with confidence.
- Changing how we instantiate the Prisma Client to reuse the connection if it’s still alive.
If you want to see more of the code, you can view it on Github or check out the demo here.